

Spring Collaborative Poster
Are you looking for a fun and easy project to engage your students' creativity and spruce up your classroom this spring? Look no further than a collaborative art poster! With just a few simple steps, you can create a stunning spring-themed poster that your students will be thrilled to display in the hallway.
Gather your supplies and get ready to transform your classroom with a colorful and collaborative art project!

How cute is this?
Once you’ve purchased and downloaded this adorable door poster, you’ll want to print pages 4 – 35. I like to print mine on cardstock. It makes the poster much more durable, and it will last longer in the hall.
Color & Cut
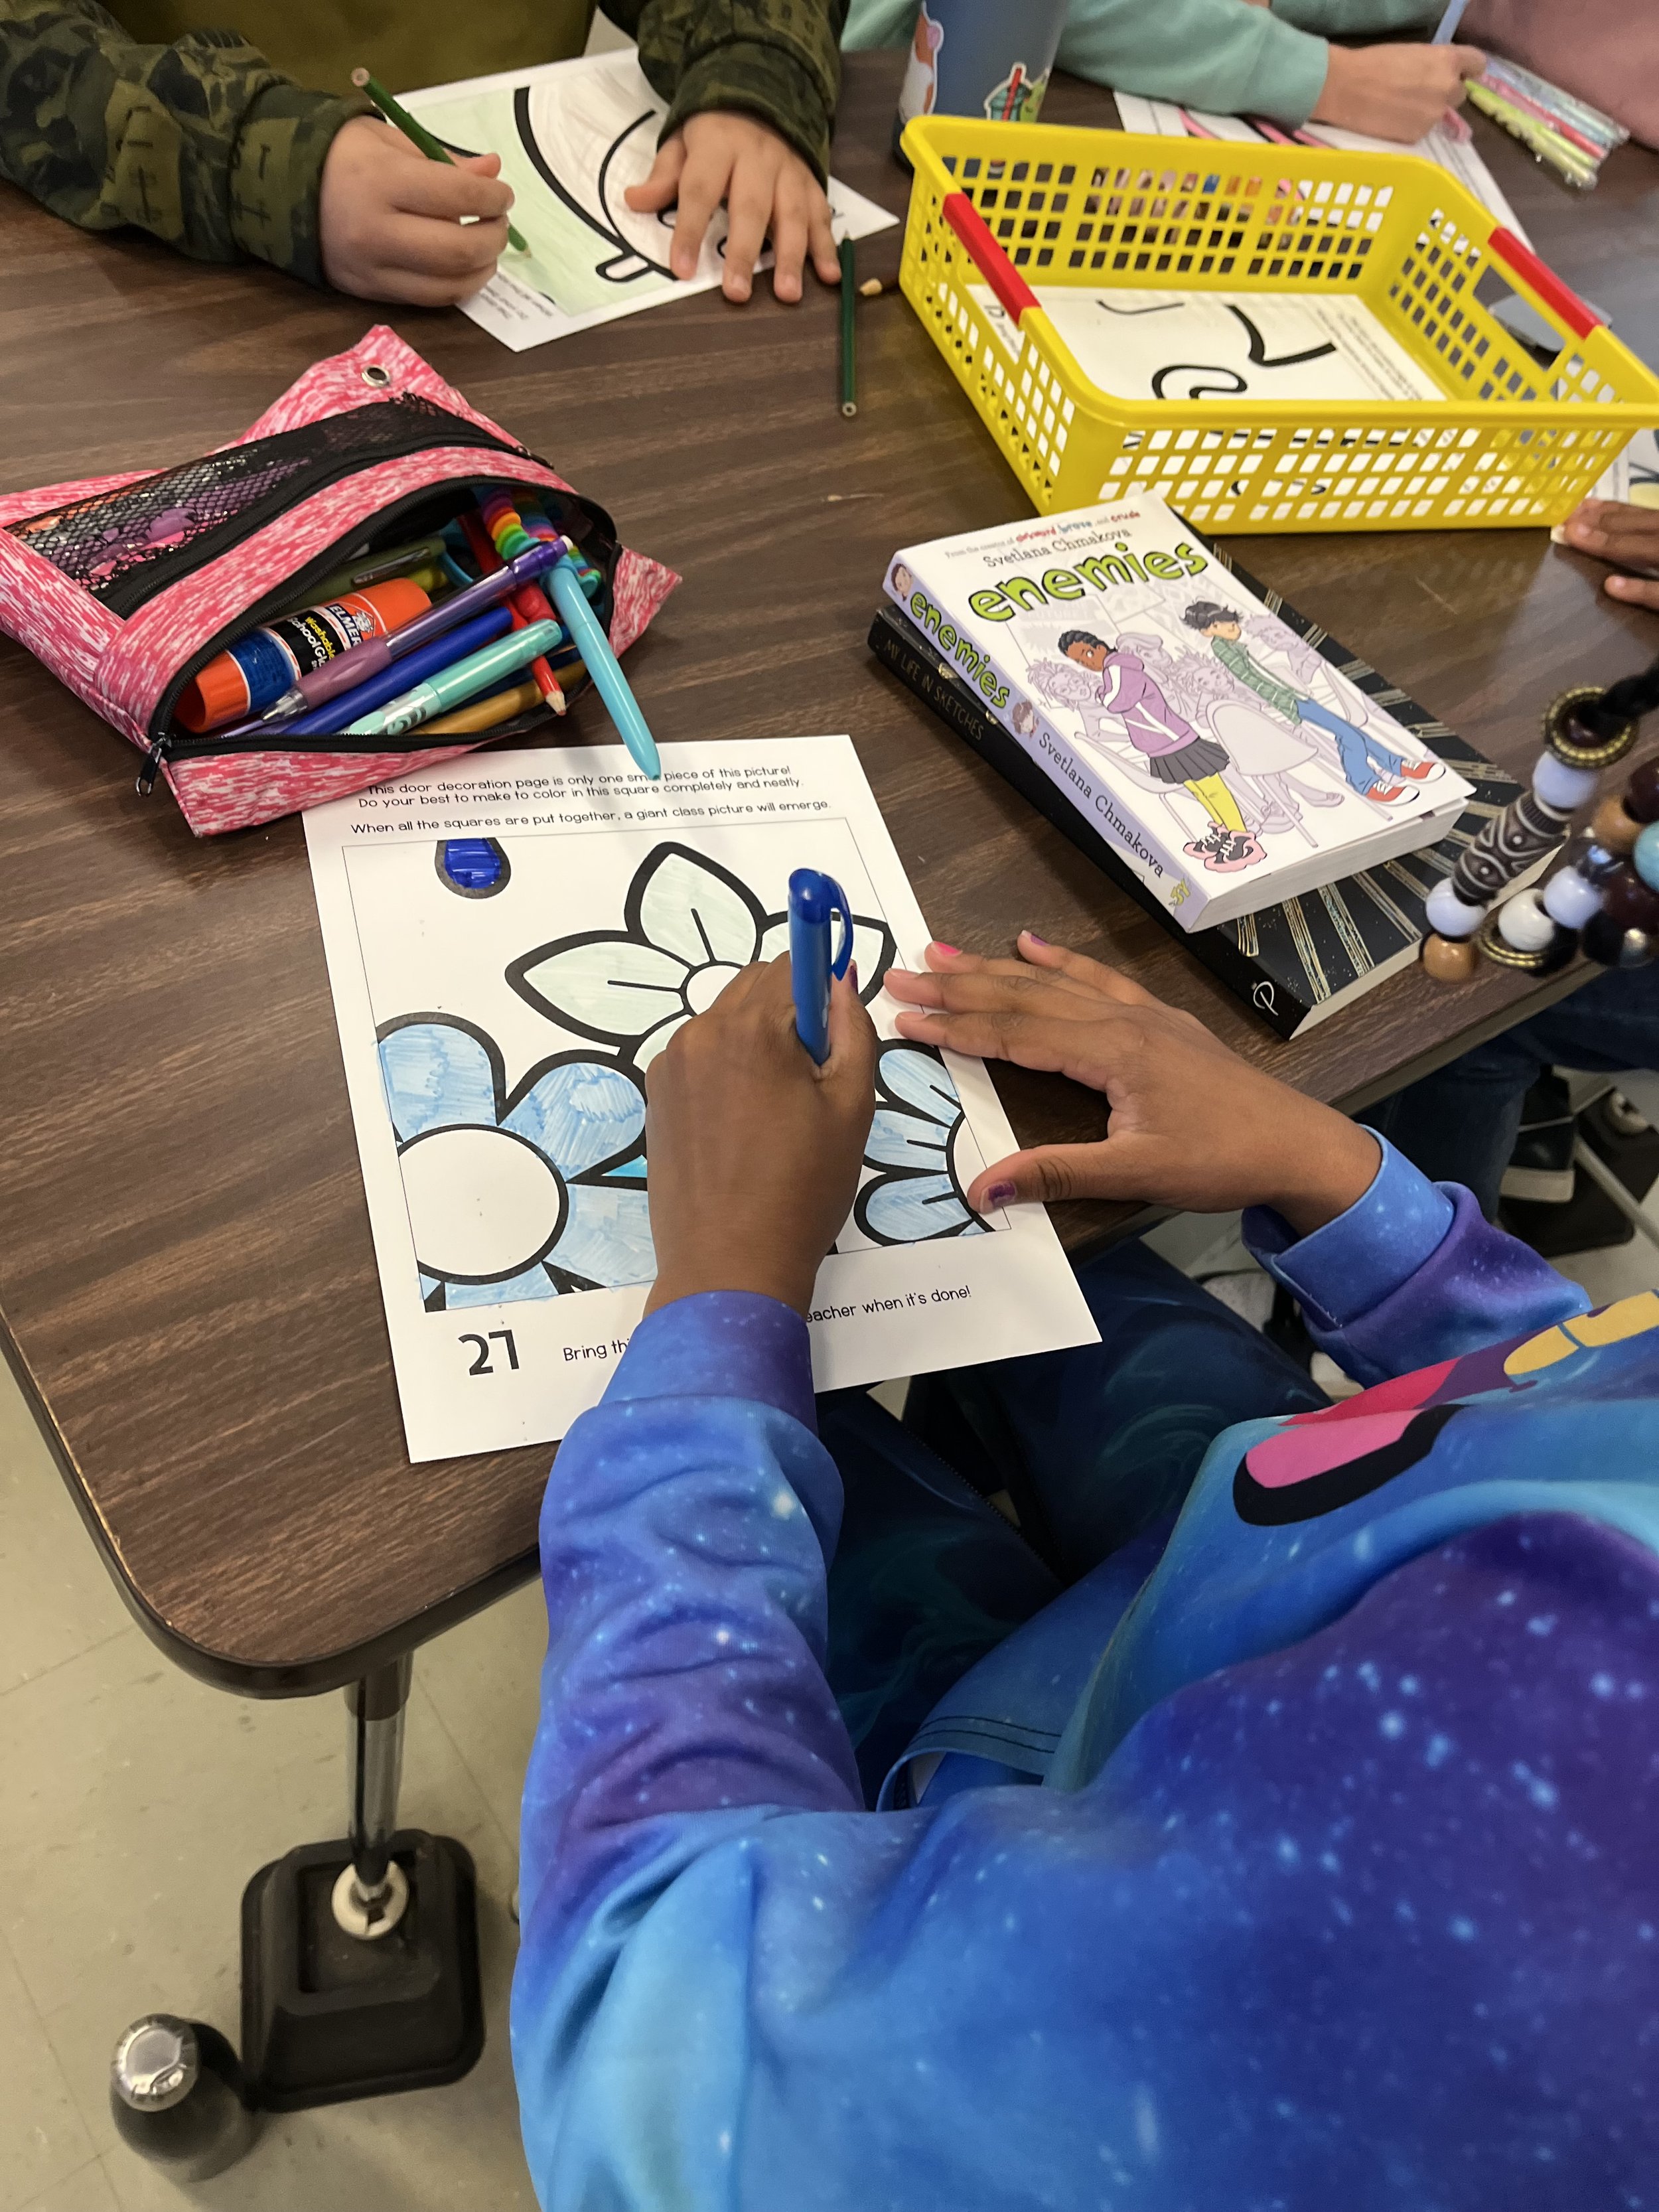
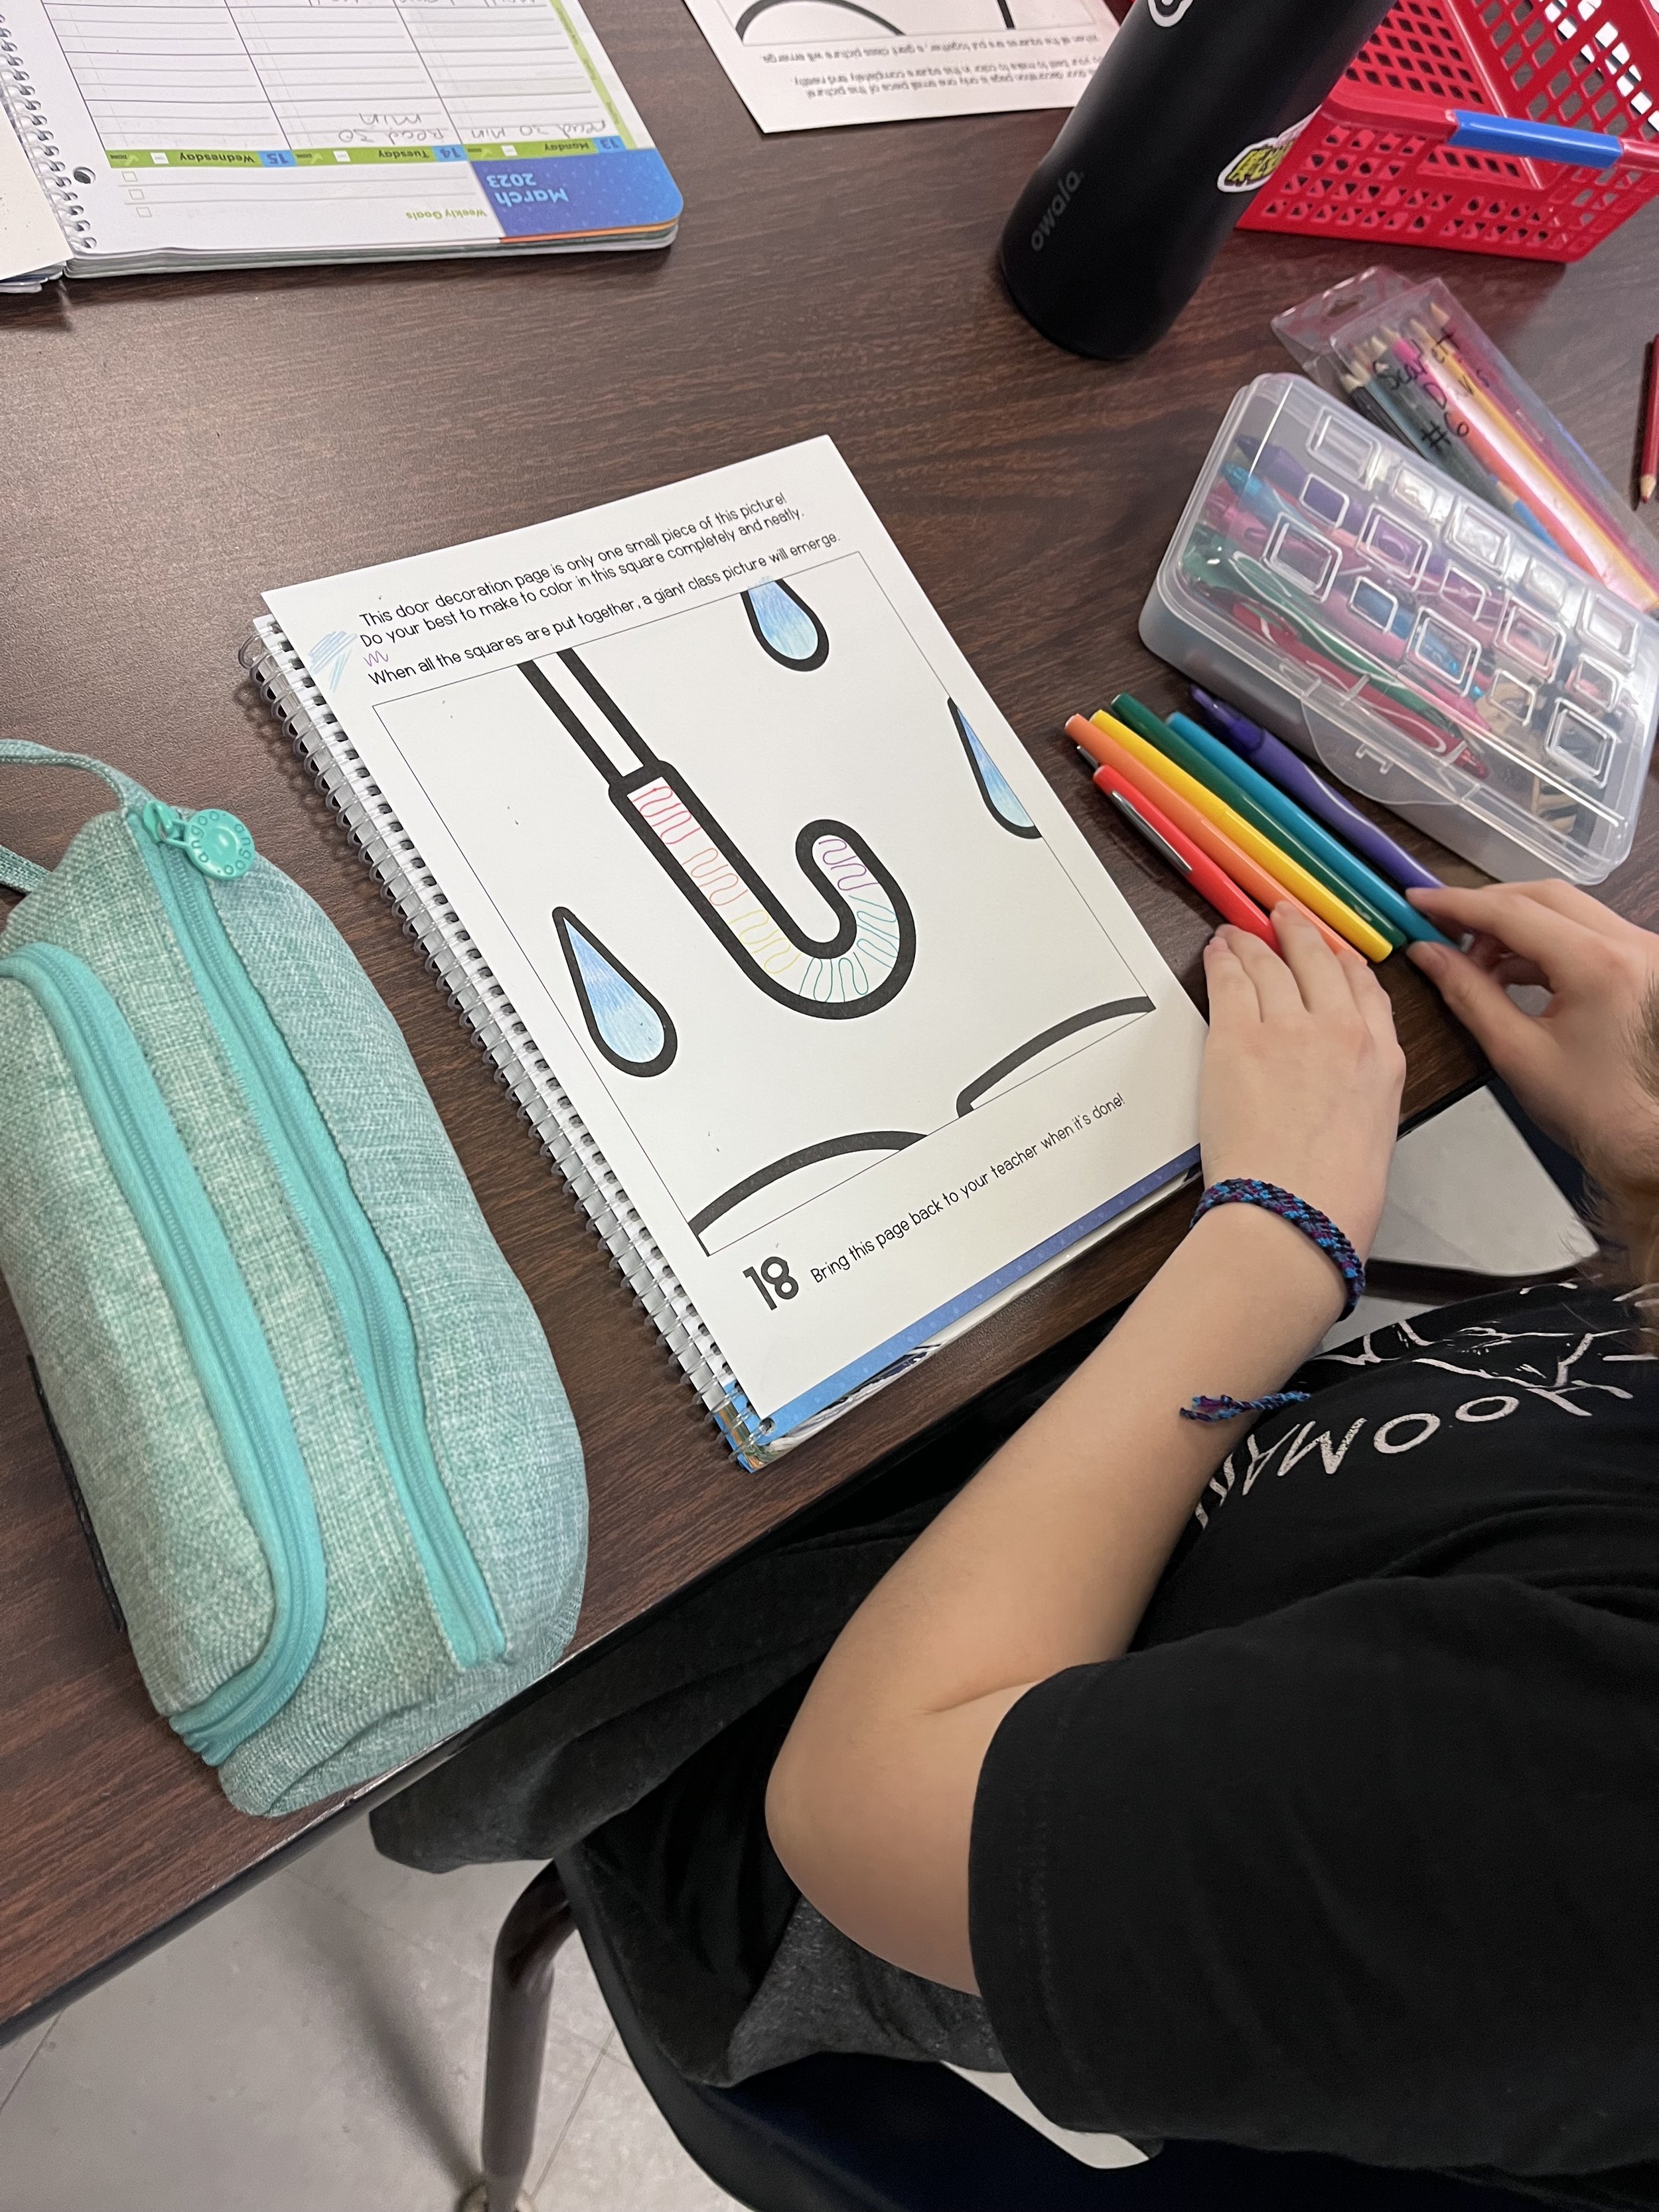
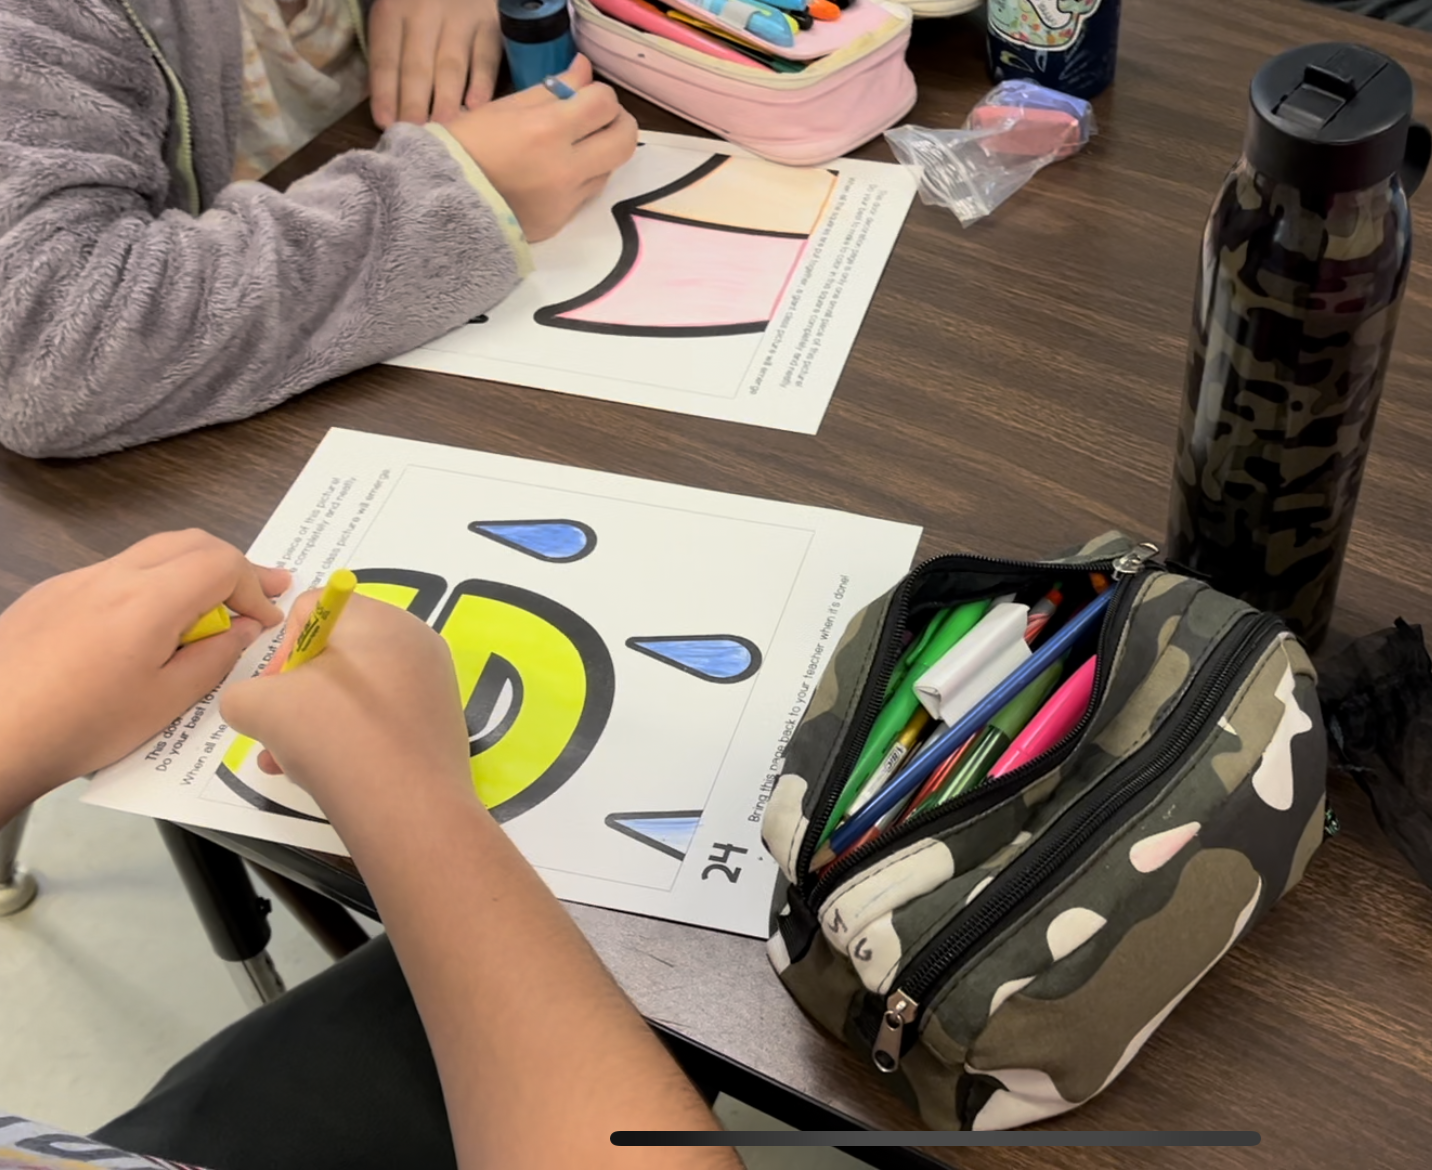
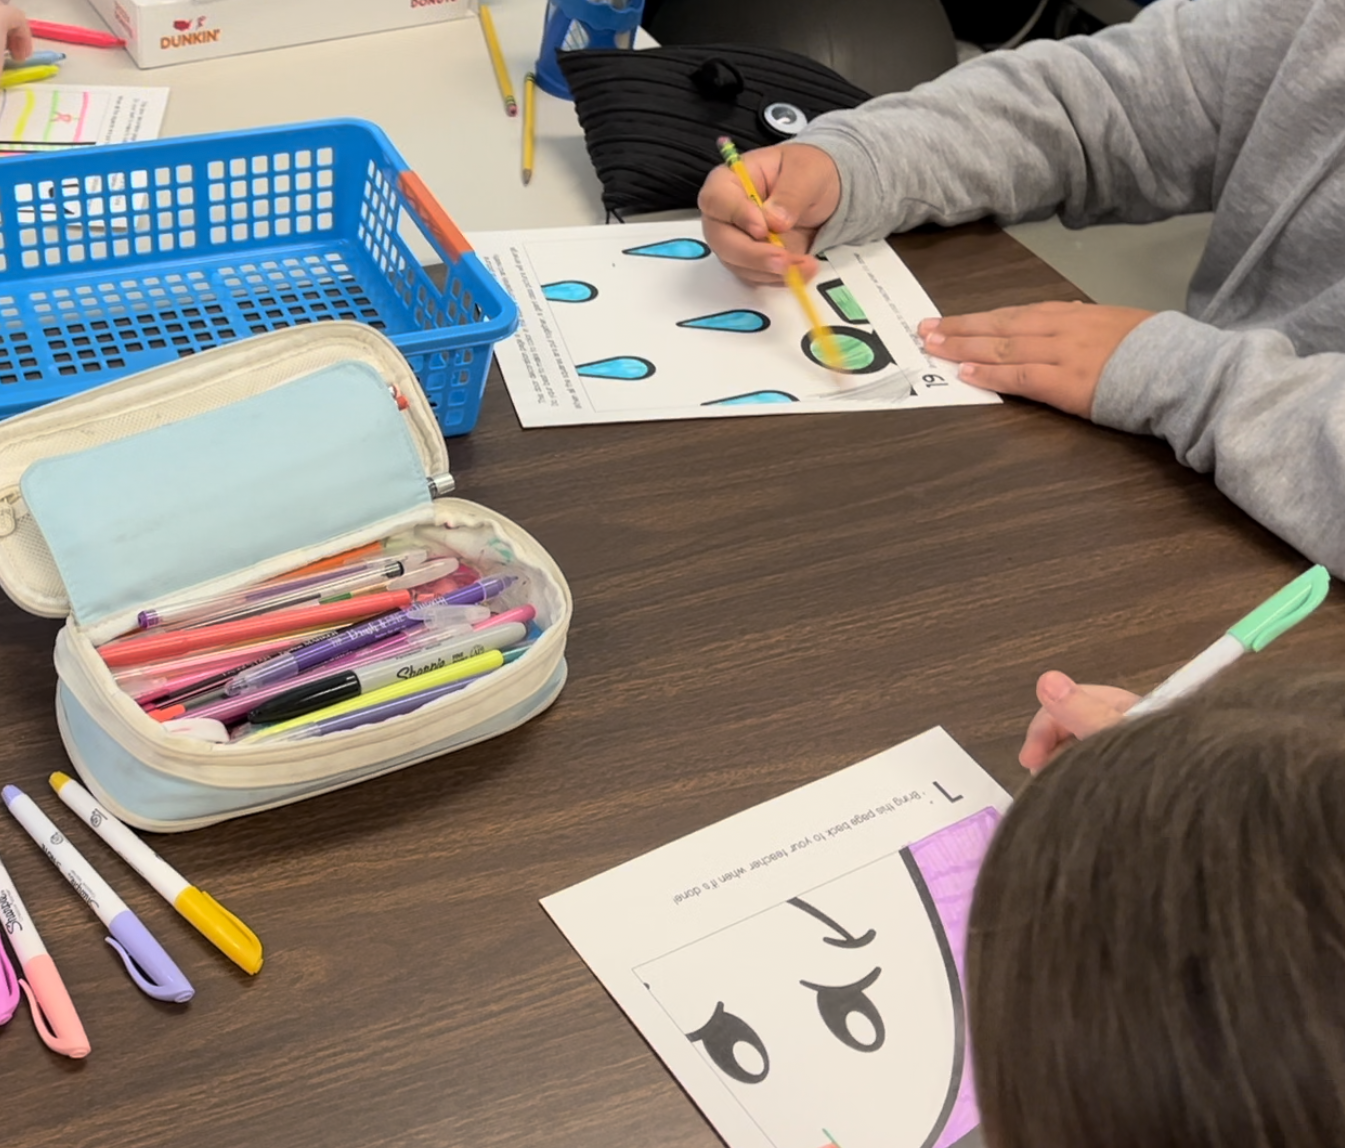
Pass out the individual page to your students. I encourage my kids to color EVERY SINGLE PIECE of their square, we leave nothing white. These posters look best when they’re bright and colorful. There’s no wrong way to color, as this is a collaborative piece. Students are encouraged to use any colors they like! Once their pieces are colored, cut them out into squares.
Tape
Align your poster pieces in place to create your giant spring display. From here, I flip each row over and tape the back with masking tape. It takes a few minutes to complete, but it will hold the poster together beautifully! Flip back over often while you’re taping to be sure everything is in the right place!
Display & Enjoy
Your students will LOVE having an artistic role in decorating your classroom door! At the start of each month, my students color their poster pieces as a morning task and they’re always excited to see what they will create next.
Check our TPT store for even more adorable collaborative art posters!

-Emmy